


- >
- リフォーム施工事例
- >
- 混構造の全面リフォーム
混構造の全面リフォーム
 リフォーム
リフォーム
混構造の全面リフォーム
弊社ホームページをご覧いただき耐震診断をさせて頂きました。その結果を踏まえて全面リフォームを弊社にご依頼頂きました。
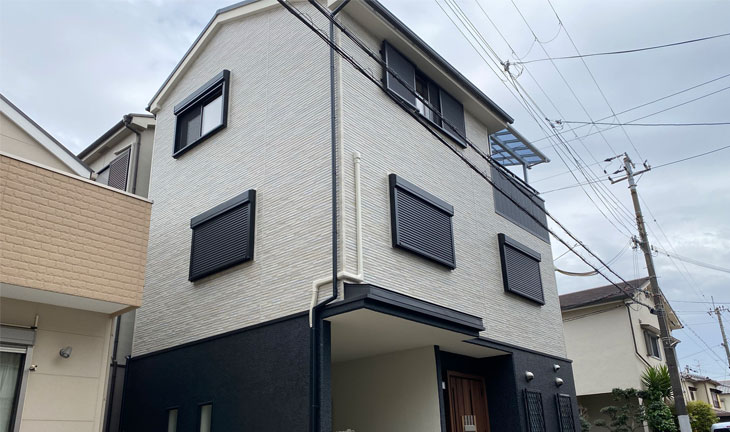
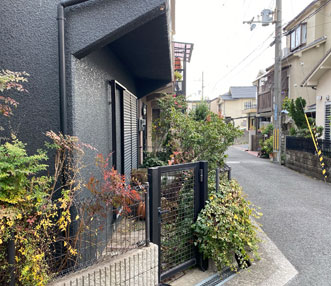
外観
Before

After
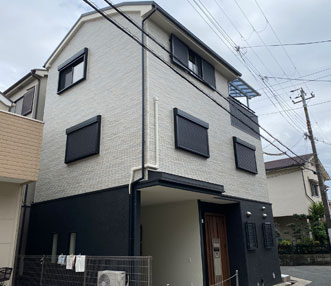
既設の外観は金属サイディングを直貼りで施工されてました。今回のテーマの1つでもある『暖かく』という事で、胴縁通気工法で金属サイディングを施工させて頂きました。サッシも2F、3Fともすべて複層ガラス仕様に入替させて頂きました。
2Fキッチン
Before
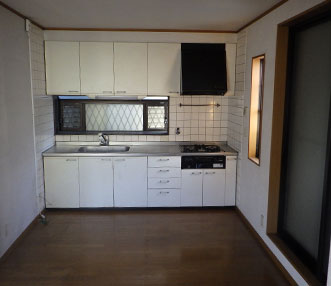
After
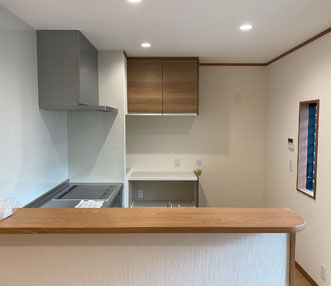
既設のキッチンは外壁面にむかってI型のキッチンがついていました。奥様のご要望の一つで対面式がよいという事でしたが、間取りの関係上、L型のキッチンを採用して頂きました。
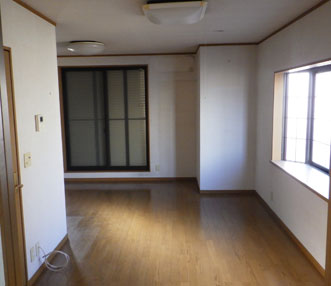
2Fリビング
Before
After
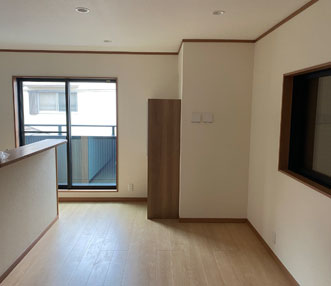
リビングには床暖房も今回新たに施工させて頂きました。
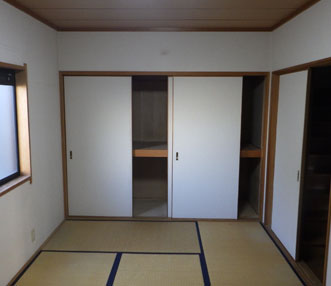
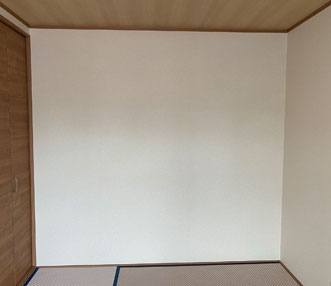
2階和室
Before
After
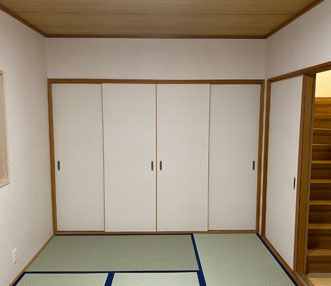
和室の建具は幅広の3枚建具でしたが、物の出し入れがしやすいように4枚建具に新調、また畳は樹脂畳を入れさせて頂きました。
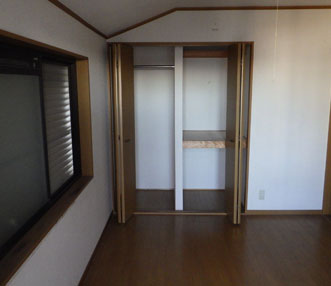
3階洋室
Before
After
3Fの建具もすべて枠事入替、床は既設の床の上に増張りさせて頂きました。
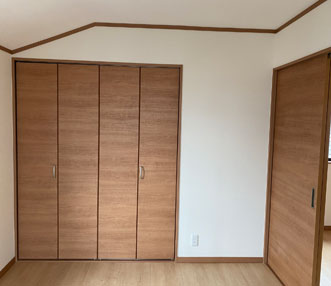
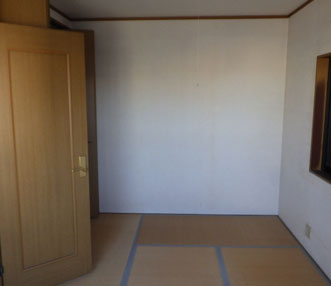
3F和室
Before
After
3Fの和室も樹脂畳を入れ、建具もすべて枠事入れ替えてます。
自転車置き場
Before
After
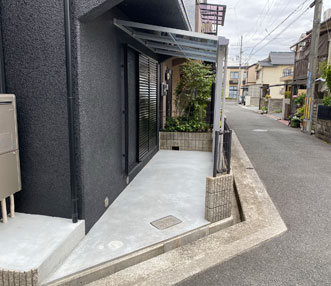
施工前は植物が生い茂ってましたが、すべて撤去し、テラスと取付自転車置き場として使いやすくオープンな仕様にさせて頂きました。
こだわりのリフォームポイント
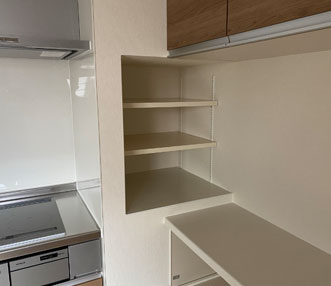
間取りや構造の関係上、配管などを既設の壁に沿って施工しなければならなかった為、L型キッチンとカップボードの間を利用して、新たに棚を設けさせて頂きました。
施工例データ
| 種別 | 一戸建て |
|---|---|
| 施工地 | 茨木市 |
| 総施工金額 | 2000万円 |
| 施工日数 | 50日 |
| 施工部位 | 外壁・屋根・LDK・和室・洋室・トイレ・洗面脱衣室・窓 |
| 仕様設備機器・部材名 | キッチン :LIXIL アレスタ エコキュート:Panasonic HE-W46HQ フローリング:LIXIL ラシッサS 玄関 :LIXIL リシェント 窓サッシ :LIXIL サーモスL・X 屋根 :アイジー工業 スーパーガルテクト 外壁 :アイジー工業 フィネストーン カーポート :YKKAP ソラリア |

お役立ち